
How to add a Glassmorphism effect to your Bubble app using 6 lines of CSS code

Let’s start the new year with a nice little design hack for Bubble: Glassmorphism. Or as I like to call it: “Blurred see-through things”.
This post is brought to you by DocuPotion

DocuPotion is the PDF plugin Bubble devs love to use. It gives you total control over the design of your PDFs and makes creating beautiful PDFs easy.
Want to create simple invoices? DocuPotion can do that.
Tired of dealing with page breaks that don’t work? DocuPotion has detailed page break controls.
Already using a PDF plugin but can’t run it in the backend? DocuPotion allows you to generate PDFs in backend workflows.
Want to generate a detailed 40-page report with graphs and charts that delights your users? No problem - DocuPotion can generate large PDFs without issue
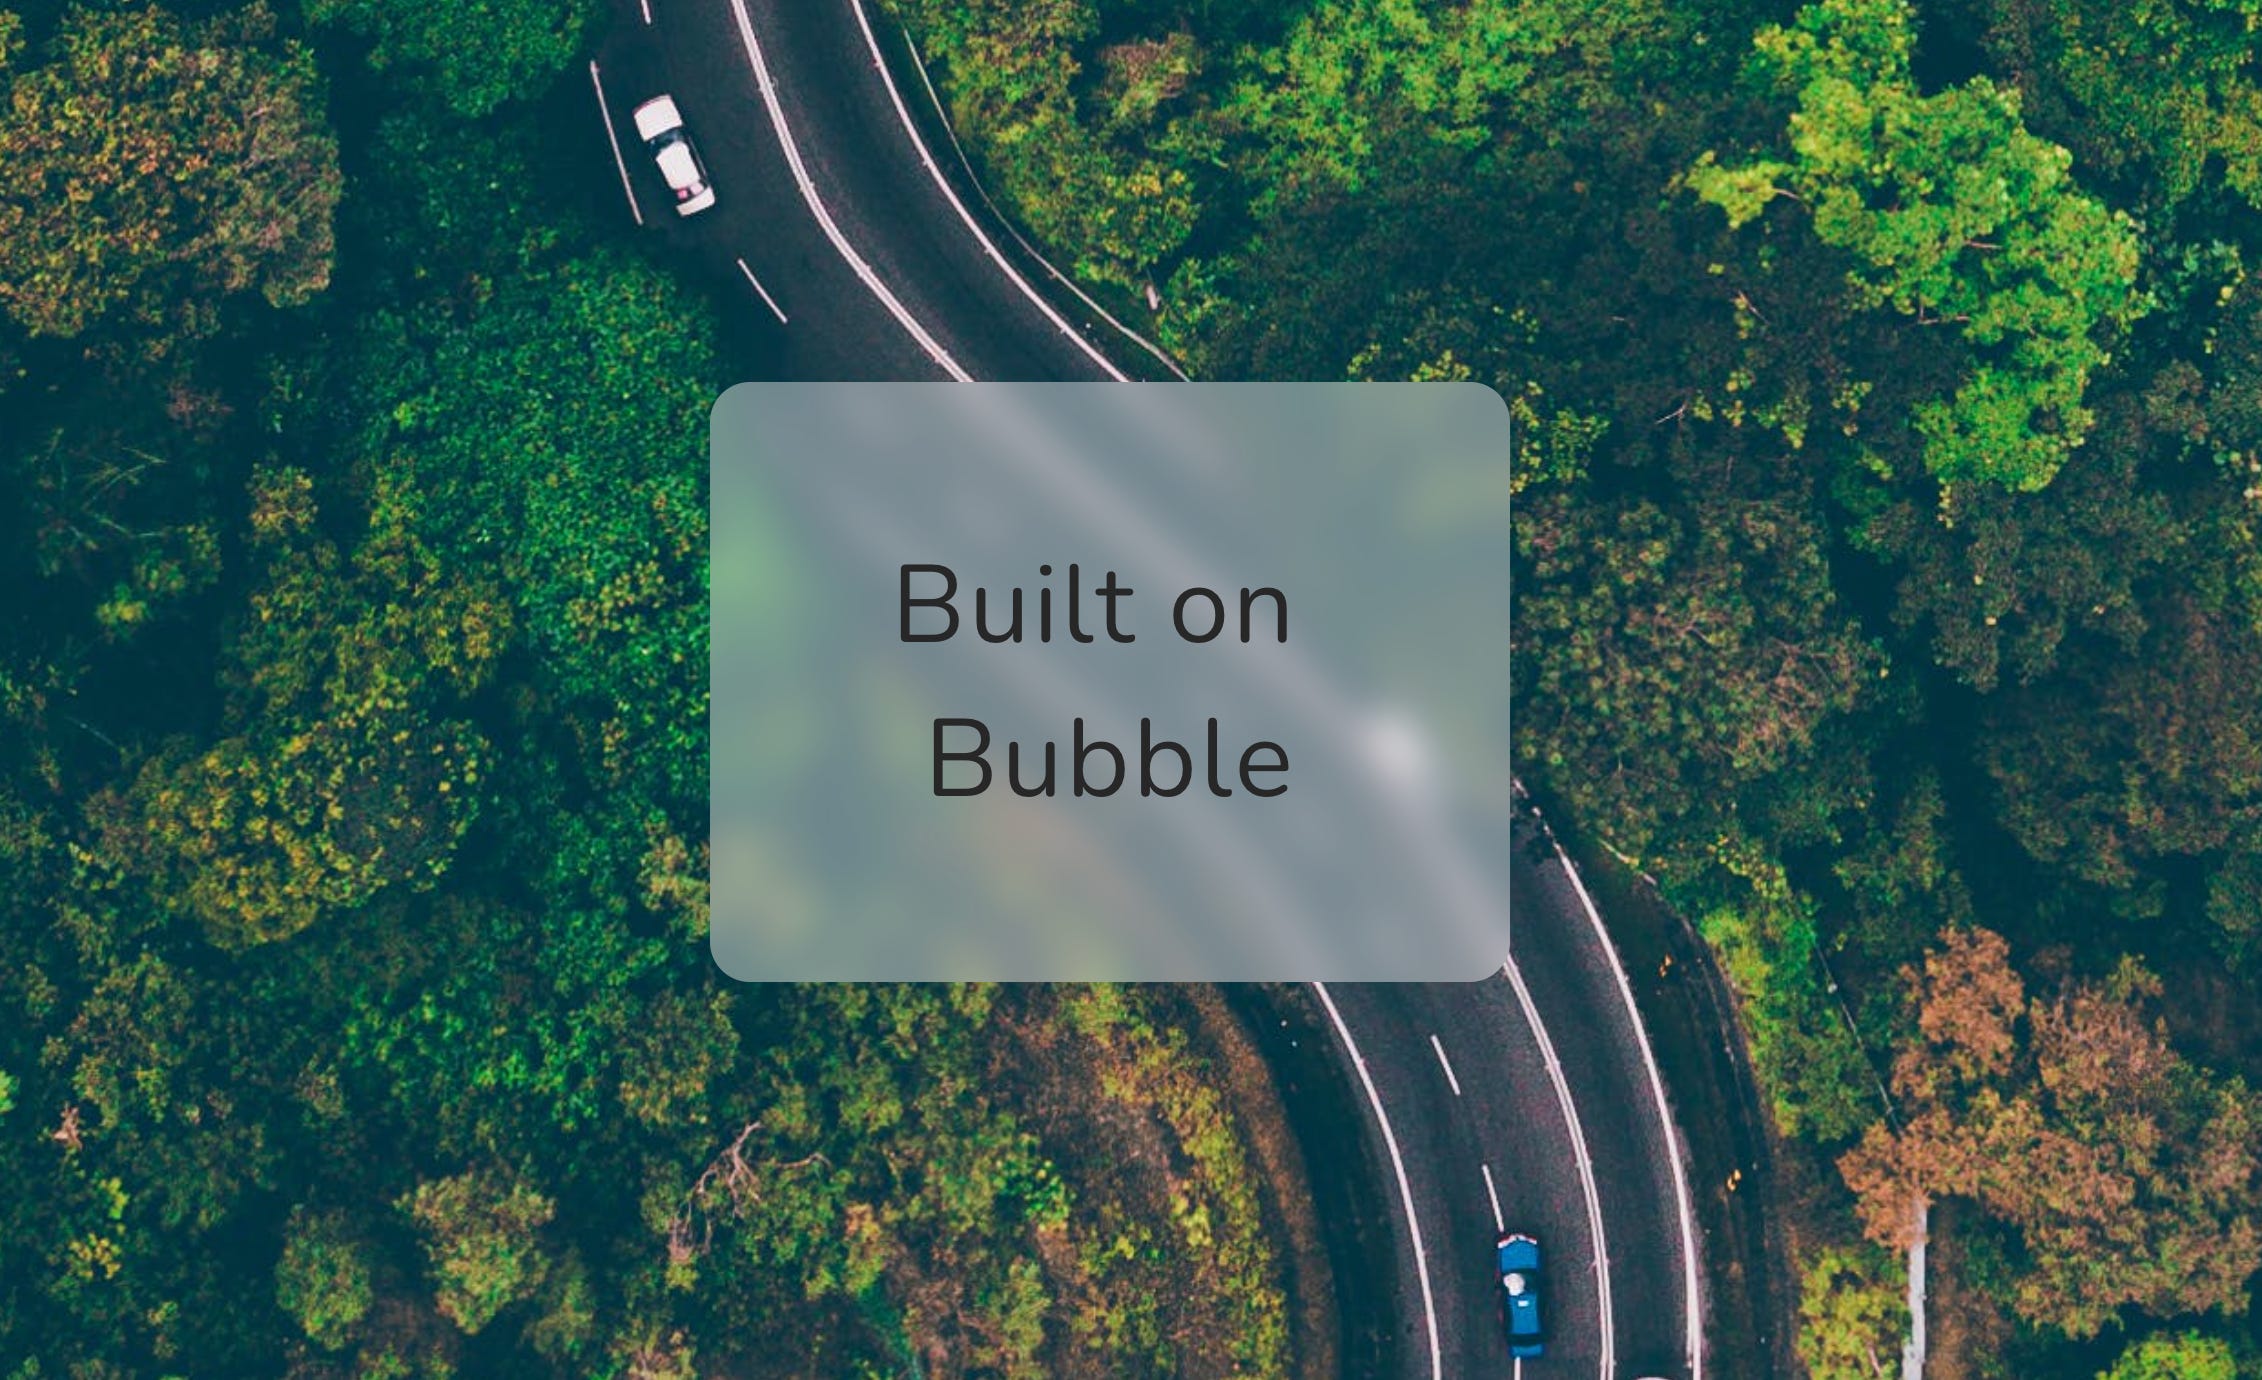
Glassmorphism has become a standard tool in every designer’s toolbox. However, Bubble does not yet support this natively. But no worries, you can create a Glassmorphism effect with six simple lines of CSS codes.
1) Set the opacity of the element you want to apply the effect on to something like 40%.
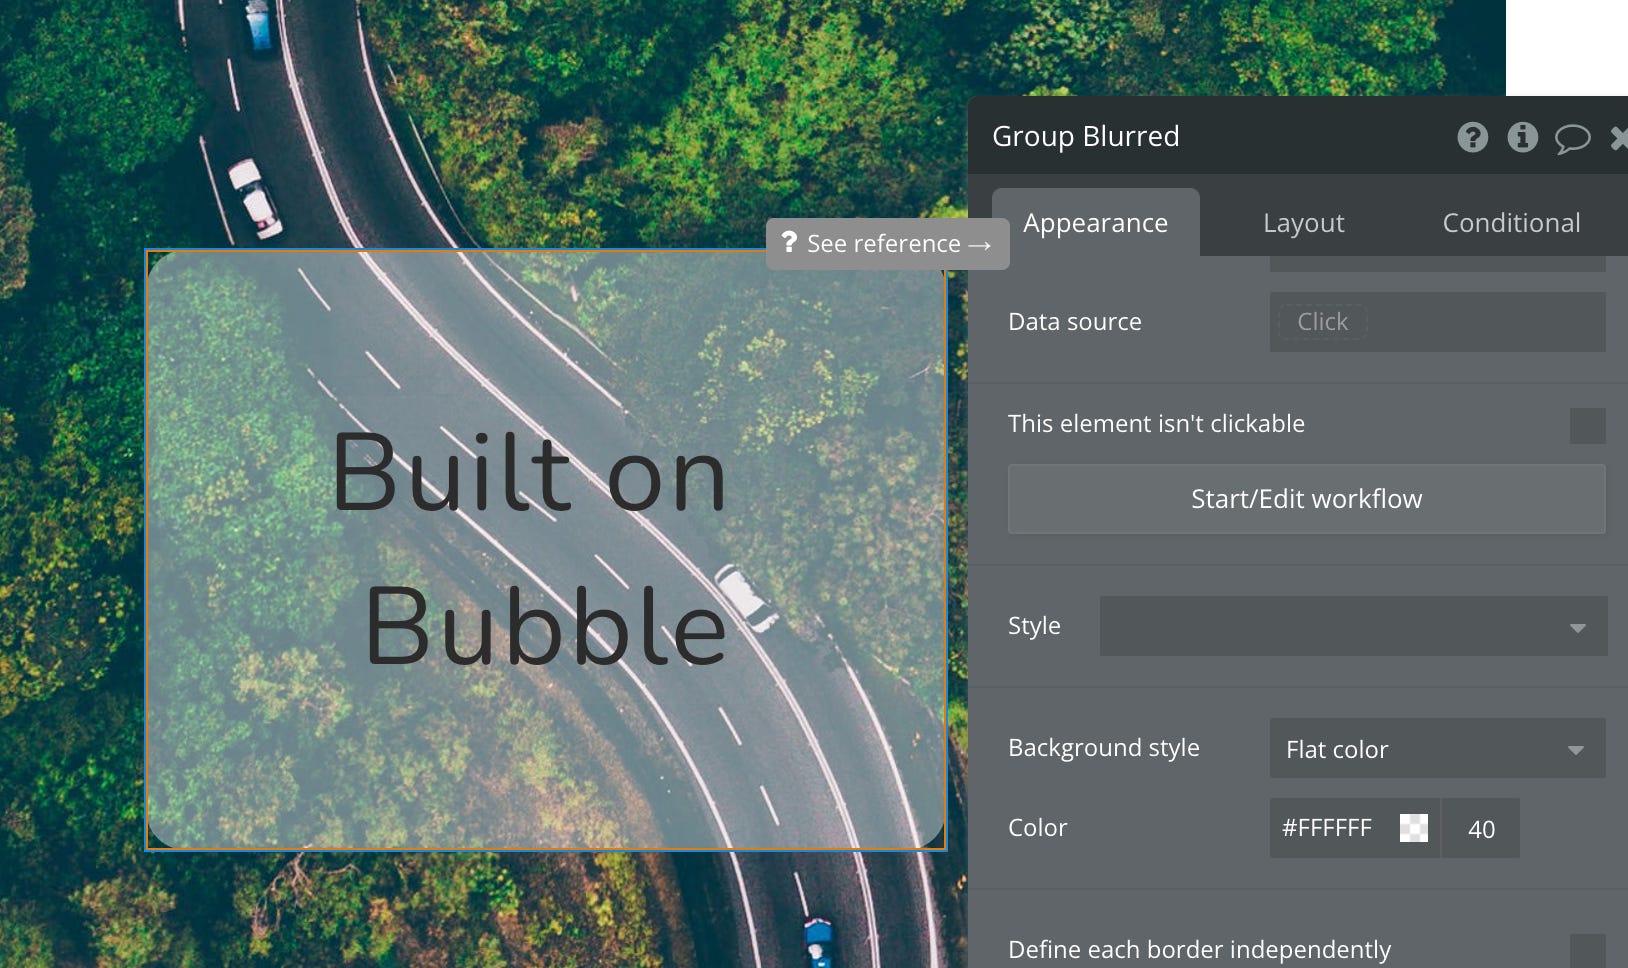
2) Give the element an ID Attribute (make sure to enable Settings / General → Expose the option to add an ID attribute to HTML elements).

Add an HTML element to your page and add the following code: <style>
#blur {
-webkit-backdrop-filter: blur(10px);
backdrop-filter: blur(10px);
}
</style>
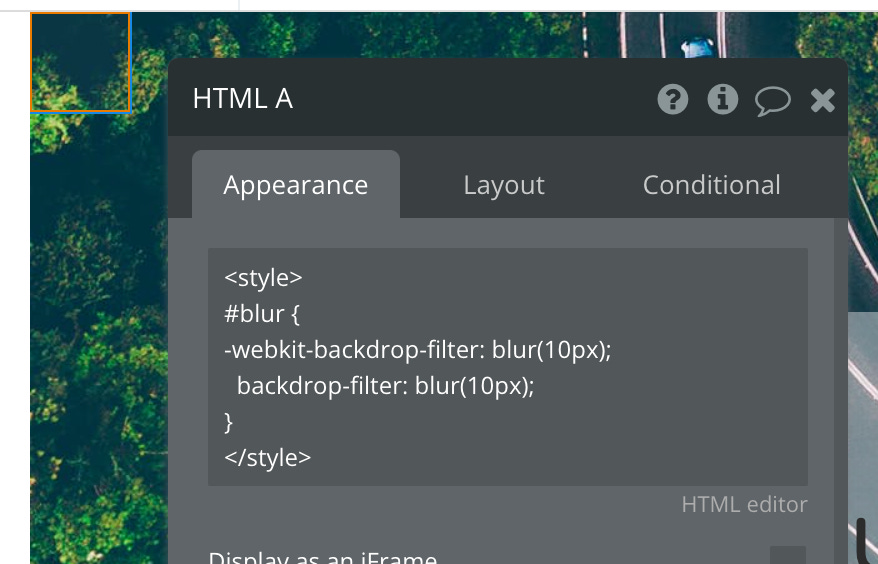
Make sure that your ID Attribute added in step 2 is the same as the one in your CSS code (after the #). Play with the numbers to increase or decrease the strength of the effect.
That’s it, enjoy. Feel free to have a look at my Bubble editor setup.
Note: To see the effect, you need to preview the page. It won’t be visible in the Bubble editor itself.
Join the discussion
Do you want me to write about a specific topic, or do you have an awesome Bubble hack you would like to share? I'd love to hear from you, and I'm looking forward to engaging on Twitter (@DamianJanzi), in the post comments, or the Bubble forum.
Also, if you like this newsletter, why not forward it to a friend :)
That’s it. Keep it simple!
Damian
Great tip!